
Pin this!
I finished my mystery WIP and I couldn’t be happier with the outcome. I did at one point tear out about 20 rows because I wasn’t happy with the way it was working up. And I’m so glad I did. Because it completely changed the look and vibe of it.

All those wavy rows were torn out
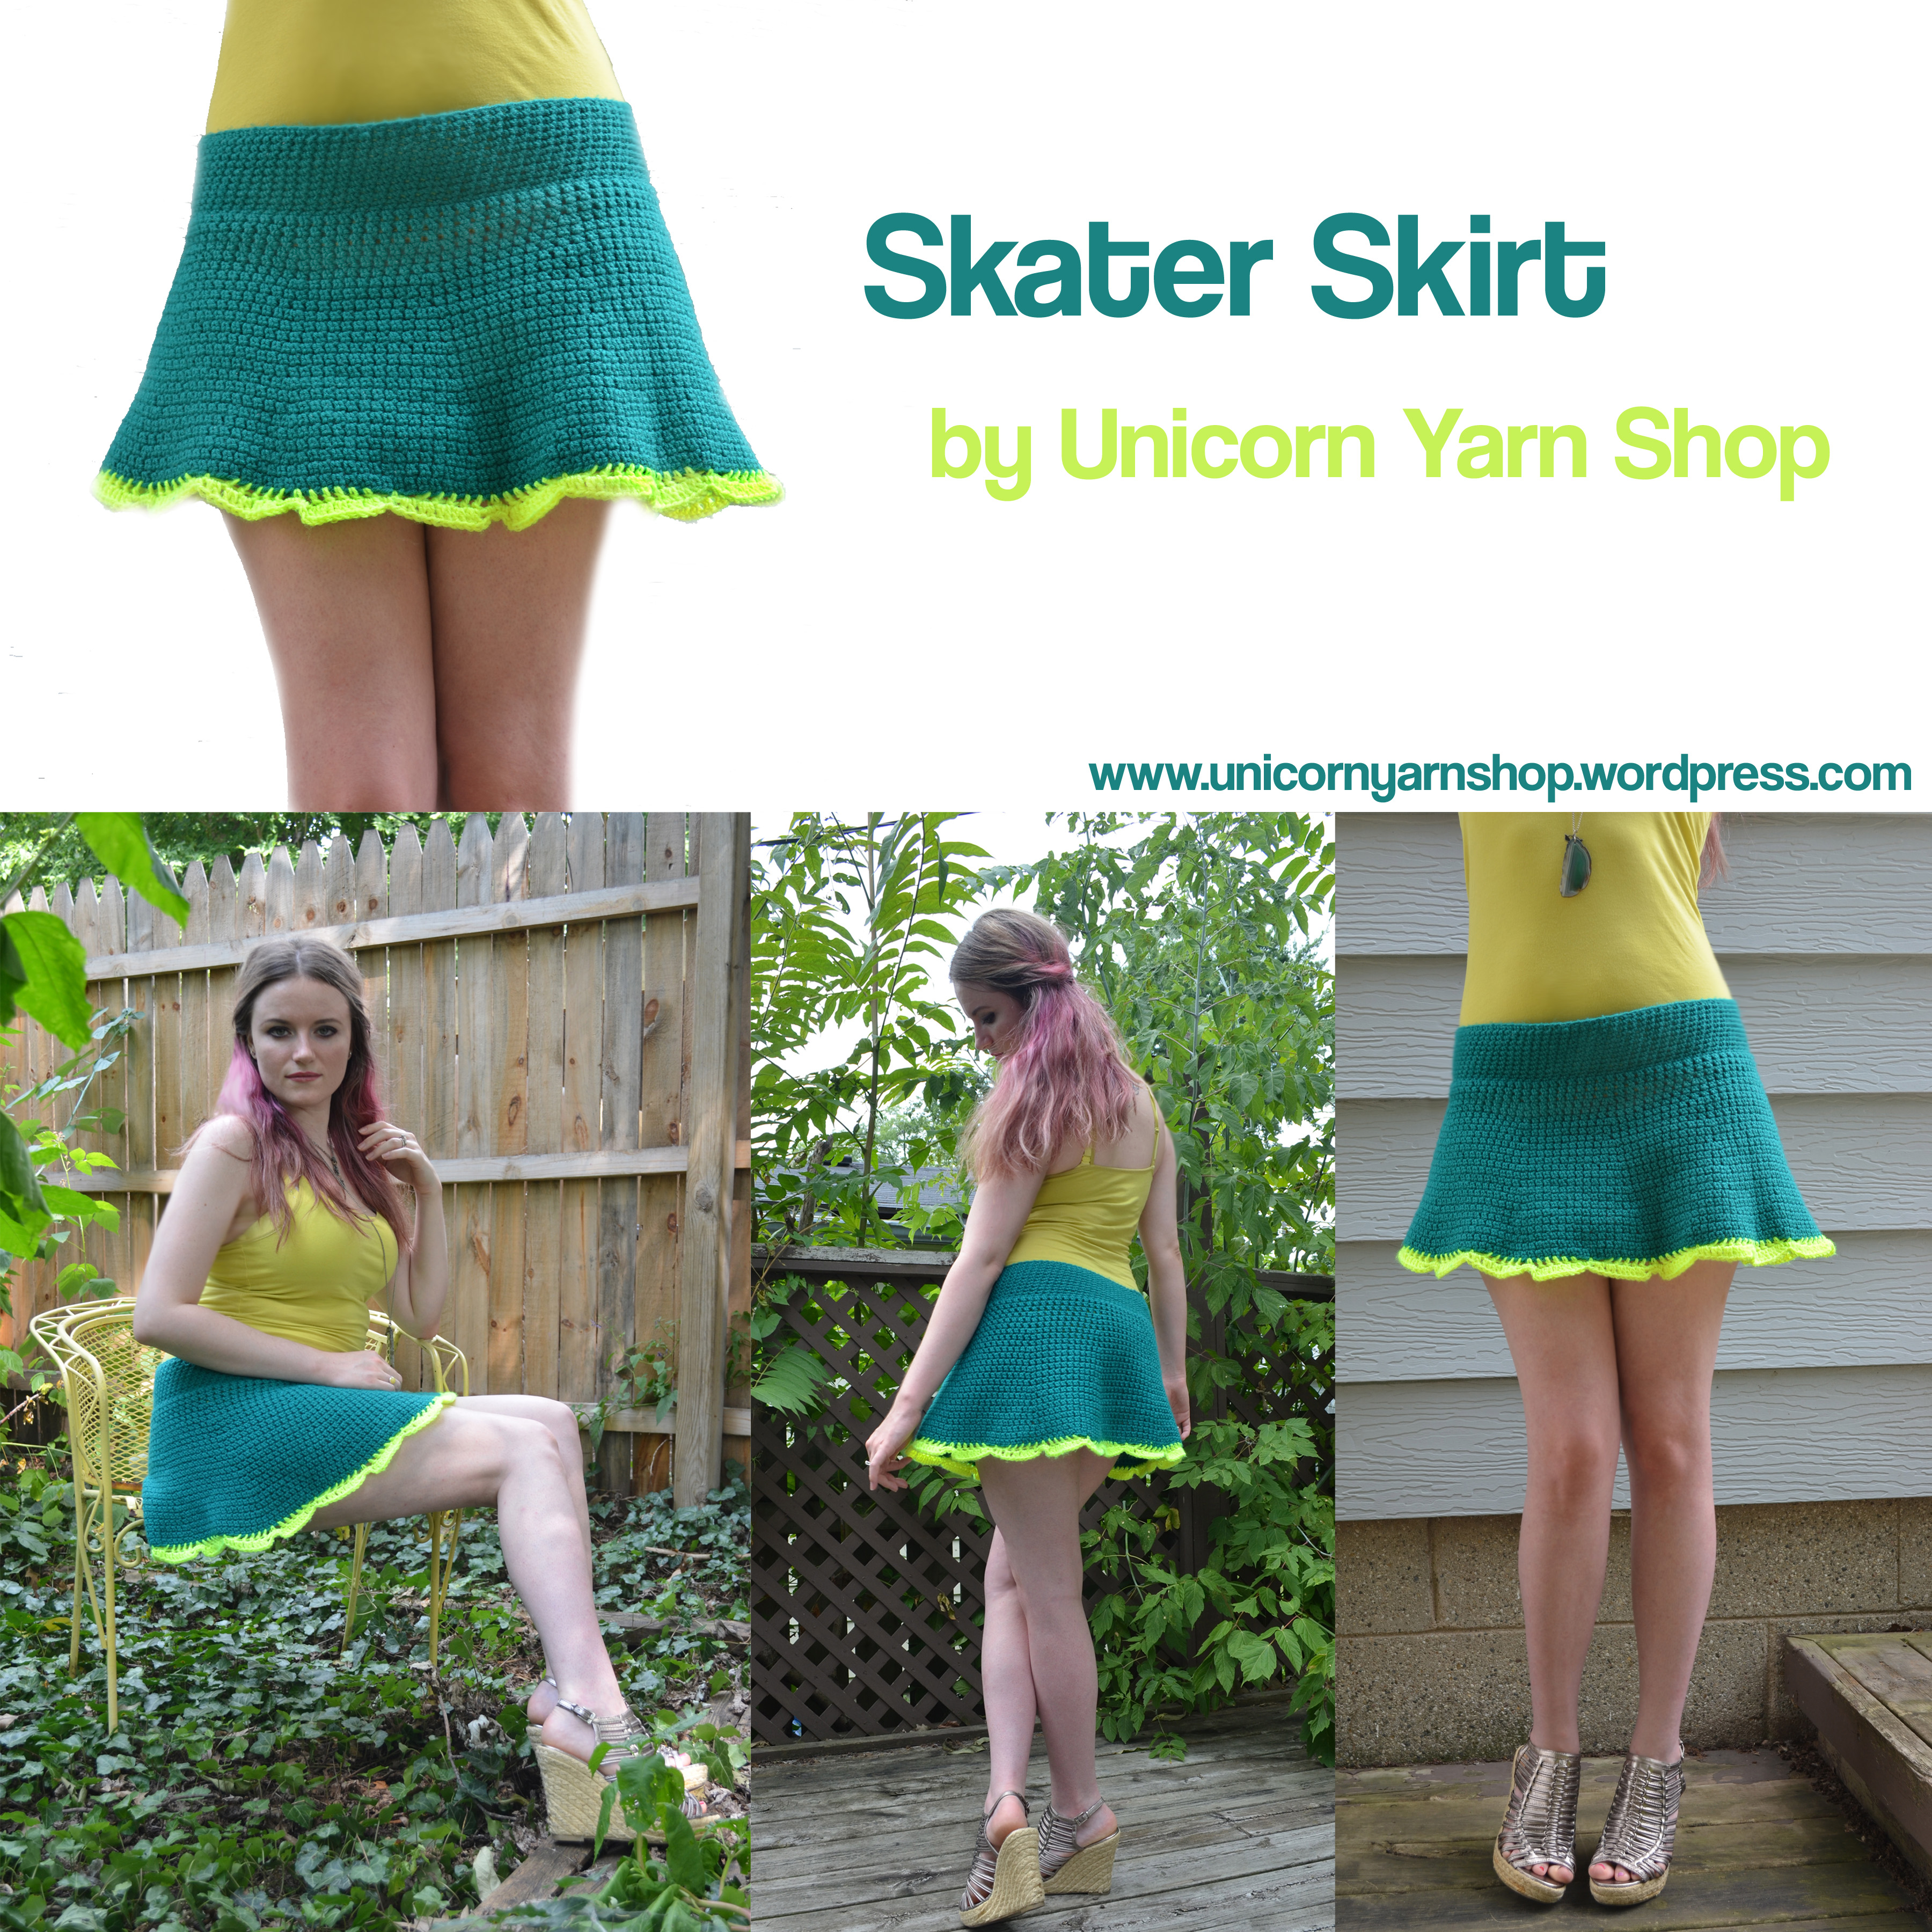
My crochet style is consistent with my personality; resourceful, free-spirited, and innovative. For this project, I wanted to capture a few trends of this season. Bold colors with hints of neon, short hem with a natural waist, feminine with an edge. I’m calling it the Skater Skirt. And while I don’t have a “pattern” per se, I do have an outline that you can use to recreate your own. I know I’m ready to make one in every color now!
To begin, you can use any yarn you choose. Just keep in mind how the gauge and drape will change with different fibers and thicknesses. Because of a limited budget and also because this was an experiment, I went with a cheap acrylic. It actually worked out well and makes my finished skirt machine washable. But I would love to try it again with a superwash merino if budget wasn’t an issue. Here’s what I used:

Crafter’s Secret, color name: Fabulous! + I Love This Yarn! Sport weight Yellow neon
I used almost all 355 yards of the teal and only a little of the accent neon yellow color.
Getting started, with my main color I made a chain that was long enough to fit around my waist and leave enough room to stretch over my hips. For me that was 90 chains using a 6 mm hook (the yarn gauge calls for a 5.5 mm, but sometimes I go up a hook size to keep my stitches stretchier.) It is helpful to start with a multiple of 10 if you can, this will make your increases easier to keep track of.

waist band
Slip stitch to the first chain to create a circle. You will be working in the round. I used single crochet for my first 12 rounds to create the waistband. I switched up my stitch after the waistband to get a thinner, more stretchy fabric. So for the remainder of the skirt, I used extended single crochets (ESC).
[ESC: insert hook into next st, yo and pull up a lp, yo, draw through 1 lp on hk, yo and draw through rem 2 lps on hk]
This is my first project using ESC and I am hooked. I love how it works up.
So, you have 12 rows of sc. Work 3 rows of ESC.
Now we’ll start increases. Here’s how I worked mine in. Since I started with 90 stitches per round, I decided to add 10 stitches evenly distributed throughout my first increase round. So every 9th stitch I worked 2 ESC. By the end of this round I had 100 stitches. To keep the increases gradual, I worked 2 more rounds of 100 stitches. (So 3 rounds of 100).
I repeated this process throughout. So my next increase round I added 10 more stitches by working 2 ESC into every 10th stitch (110 stitches). Then work 2 more rounds of 110 stitches.
I did this 5 more times until it was a length I was happy with. For me, my final three rounds were 160 stitches.
This is just a simple guideline to help you make this project your own. I found that adding 10 stitches every three rounds made for a really nice a-line shape which is exactly what I was going for. But don’t be afraid to experiment with that formula to make it to your preferences. That’s the beauty of free-form crochet. It can be easily adapted.
For the hem detail with my accent color, I could have done any edging. I actually made mine up as I went along. It turned into a cool asymmetric scalloped edge. Just keep in mind the number of stitches you end on and find a repeating pattern you like that divides it evenly. Or you could simply add an extra 3-6 round with increases for a color blocking effect.
So here it is! If you have any questions or issues please leave a comment. I look forward to seeing how you use this guideline and make it your own. Please share finished pictures too!


